Clever Tips And Tricks For DIY
There are always a few tips and tricks that you can put to good use – whatever DIY project you may be tackling. Here are just a few clever tricks I have learned along the way…
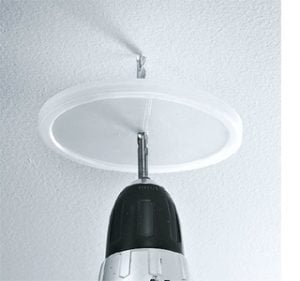
Drilling a hole in the ceiling can make a big mess, especially if you’re working over carpet. This simple solution will contain the dust for easy cleanup. The next time you use up the contents of a disposable plastic container, save the lid. Drive a drill bit through the centre of the lid, and then use the drill to make the hole in the ceiling. The dust will fall on the lid, and you can simply throw it away when you’re done.
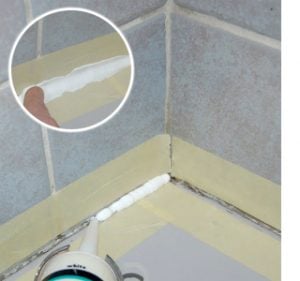
Applying sealer is the perfect way to fill gaps. But if you’ve ever tried doing it yourself, you may have found that applying a clean line can be tricky. Luckily, you can solve that problem with masking tape. Apply the tape on either side of the area where you want the sealer to go; lay the sealer and smooth it with your finger. When you peel back the tape, you’ll be left with a tidy edge.
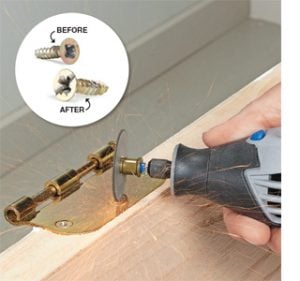
We’ve all been there: You try to remove an old screw, and the drill bit just spins uselessly in the screw head. Fortunately, you can use a Dremel MultiTool with cutting disk to cut a slot in the screw. To cut the slot, hold the tool perpendicular to the screw head and slowly lower it onto the centre of the screw. Once the slot is cut, you can remove the screw with a flathead screwdriver.
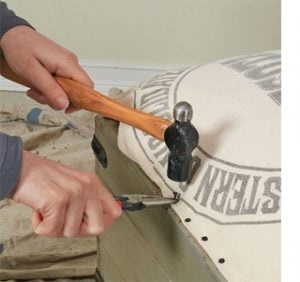
When doing an upholstery project and you need to hammer in tacks or upholstery pins, the last thing you need is to hurt yourself. The easier way to hammer in tacks or upholstery pins, or even small panel pins for that matter, is to use a pair of needle nose pliers to hold the pin or tack in place while you hit down with a hammer.
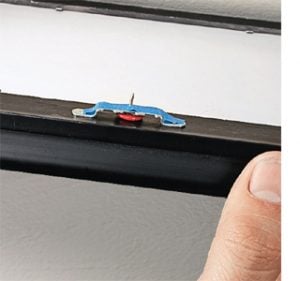
Tired of guessing at the location to place picture hangers on the wall? The problem can be solved by applying tape to the frame hanger and then pushing a thumbtack through the tape as shown here. Position the frame and push the tack into the wall to get a precise hole for mounting your picture hanger. Remove the tape and tack, and you’ll be able to hang the frame exactly where you wanted it.
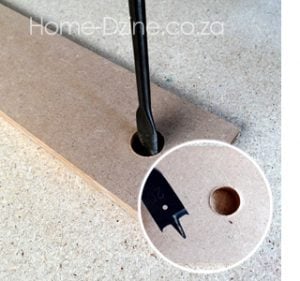
When using a spade bit to drill through a piece of timber of board, by placing a scrap piece of board underneath you will have a clean cut edge on both sides of the timber or board.
When spray painting projects – small or large – use a dowel to hold the object while you spray. For smaller projects you can use wooden skewers or toothpicks, depending on the size of your project.
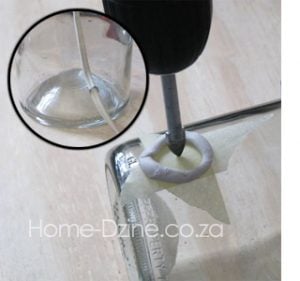
If drilling holes in glass or tile, roll Prestik into a thin sausage to make a circular well. Press this down onto the glass or tile around the area to be cut and fill with a small amount of cutting oil or Q-20. By doing this you reduce the amount of heat generated during cutting and extend the life of the cutting bit. Where tiles are mounted on a wall, make the bottom of the well higher to be able to hold the fluid in place as you drill.
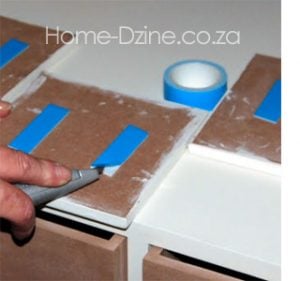
Use double-sided tape to make mounting drawer fronts easier. If you apply double-sided tape to the back of drawer fronts you can align these up perfectly before permanently screwing in place through the inside of the drawer frame.
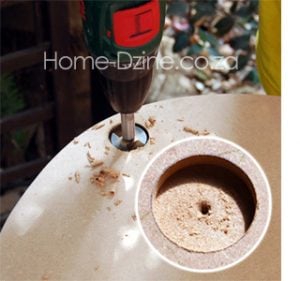
When you need to drill holes for mounting Euro or concealed hinges, use a Forstner or MAD bit. These bits have a much smaller tip that means less possibility of going through the other side of timber and board.
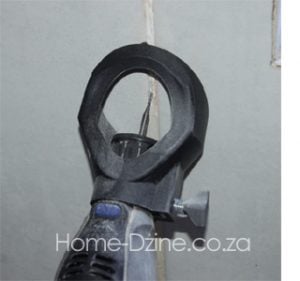
If you are worried about damaging the surrounding tiles when removing old grout, use a Dremel MultiTool fitted with a grout attachment. These attachments are purchased separately but take the risk out of damaging tiles when cutting out discoloured or crumbly grout.
When you need to fill in holes in a wall and match it to an existing textured plaster finish there are a couple of techniques to try. Wait until the crackfiller is almost dry – but still soft – and lightly dab with a cloth or sea sponge, or a paintbrush, to match the surrounding wall texture.




Comments
Add comment