Make Cubed Storage
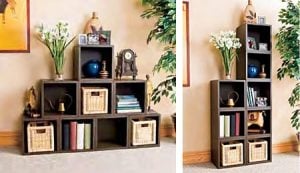
If you need a place to stash books and media in the living room, towels in the bathroom or toys in the kids’ room, this storage system is suited to the job. It’s composed of 8 modular boxes that can stack in a variety of configurations – so you can create the right shape for your needs.
Simple construction makes this project suitable for DIYers of all skill levels.

16mm SupaWood (or you can use timber) – cut to sizes:
- [1] back 316 x 316mm / [4] sides 300 x 300mm
- Ponal wood glue
- Wood filler
- Tape measure
- Pencil
- Straightedge or steel rule
- Clamps
- Drill/driver and assorted drill and screw bits
- Countersink bit
- Orbital sander and 180-grit sanding pads
- Prominent Paints satin or sheen in your choice of colour
- Foam roller and tray

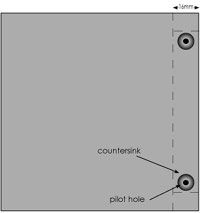
1. Make a pencil mark to a width of 16mm in from the edge. Mark the centre of this = 8mm. Doing this will ensure that your pre-drilled holes are perfectly positioned for attaching to the next board. Make a pencil mark 3cm from top and bottom. On the right edge of each side board – not the back board, drill pilot holes and countersink at the centre mark as shown left.
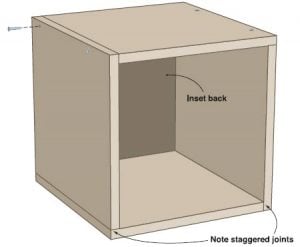
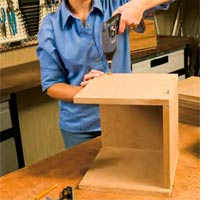
2. Build up the cube section by placing a bead of glue along the edge, positioning and then screwing into place.
You have already pre-dilled and countersunk the boards and this makes it much easier.
3. Once assembled, fill all holes with wood filler and let dry.
4. Sand the cubes with 240-grit sandpaper and make sure to remove all excess wood filler for a smooth surface ready to paint.
DIY Tip: Pay particular attention to sanding the cut edges of the supawood as this provides a much better painted finish.
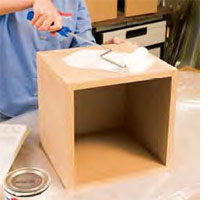
5. You don’t need to apply a primer for supawood, simply use a foam roller to apply the paint in your choice of colour. Plascon Double Velvet or Velvaglo provides the perfect finish for your cubes, and can easily be wiped clean with a cloth.


Comments
Add comment