Simple Wine Rack
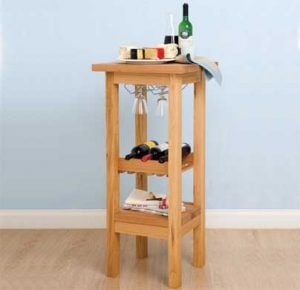
Make a purpose-built wine storage and nibbles table to suit? This bar-style table houses a glass holder and wine rack for three bottles. We’ve made it a comfortable height for most standard bar stools.

You can use any soft or hardwood for this project
- Legs 4 x 1110 x 65 x 40mm
- Rails 4 x 320 x 65 x 30 & 4 x 270 x 65 x 30mm
- Wine holders 2 x 320 x 65 x 18mm
- Slats 6 x 315 x 30 x 12mm
- Top 1 x 560 x 560 x 40mm
- Shelf 2 x 400 x 195 x 40mm
- Cleats 2 x 320 x 18 x 18mm
- 8mm dowels and dowel centres
- Alcolin wood glue
- Panel pins
- Metal angle brackets, 25mm
Tools: Jigsaw, drill/driver and 8mm wood bit, clamps, rubber mallet, multi sander and 180-grit sanding pads

Have all your wood cut to size at your local hardware store.
1. Mark the centre line on both ends of the four shorter rails, using a marking gauge. Draw the gauge line with a pencil then mark the dowel positions, 15mm in from each edge.
DIY Tip:
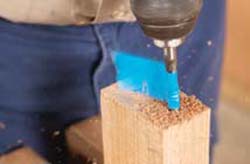
Wrap masking tape around a 8mm wood bit to a depth of that equal to half the length of the dowel. Drill dowel holes into the ends of the rails. You You’ve reached the correct depth when the tape sweeps away the swarf.
2. On the edge of the leg, draw an offset line 5mm in from the face. The top rail sits flush with the end of the leg, and the bottom rail sits 250mm up from the bottom. Repeat for all four legs.
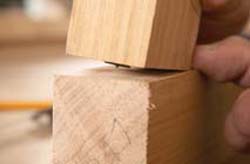
3. Insert dowel centres into the pre-drilled rail ends. Push the rail onto the leg to mark the dowel centres. Align the top edge of the rail with the end of the leg and the face of the rail with the 5mm offset. Repeat the dowelling process for the four short rails. Identify each matching joint and leg with a corresponding letter. Pre-sand all the interior edges before assembling.
4. Distribute wood glue around the dowel holes in the leg. Use the rubber mallet to drive home two 8mm dowels. Wipe away excess glue with a damp sponge. Repeat for all legs.
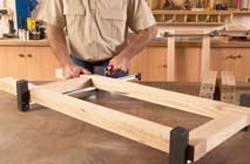
5. Attach the rails to the corresponding legs using the mallet. Clamp, then measure the diagonals to check for square. Attach the wooden cleats to the inside face of the top rails.
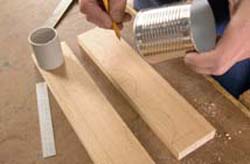
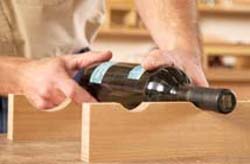
6. Mark out the bottle holder cut-outs evenly, 80mm wide for the large cut-outs and 40mm wide for the smaller ones.
7. Make cut-outs using a jigsaw. Cut close to the line, then sand the edges smooth. Alternatively, use a wider board, drill the cut-outs with a holesaw, then cut in half with a table saw.
8. Mark out and dowel the longer rails, marking corresponding joints on the inside faces of the end frames. The bottle holder sits 500mm down from the top and 5mm in from the leg.
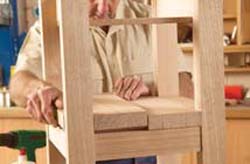
9. Glue in the dowels and then assemble all pieces with a deadblow mallet and glue. Clamp, then wipe away any excess glue. Check diagonals for square and adjust if necessary.
10. Glue the slats to the underside of the wine holder, then fix with panel pins. Use a 28mm spacer to create even gaps between the slats.
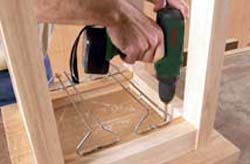
11. Measure and cut notches in each corner of the bottom shelves, to fit around the legs. Cut using a jigsaw or tenon saw and chisel. Fix the shelf sections to the rails using 25mm metal angle brackets.
12. Fix the wine glass holders to the wooden cleats. Fix the top to the rails from underneath, using 25mm metal angle brackets. Sand thoroughly then apply two coats of Woodoc Penetrating Wax.


Comments
Add comment